DIY: Play Mat/Car Mat made from Felt

For my son's 2nd birthday this year I made him a car mat. This was a simple project, just a little time consuming. I got some of my ideas from the fiskers craft website. I also got a few ideas from homemadebyjill.
At Christmastime I found the most adorable wooden airplanes, cars, school bus, fire engine, ice cream truck, police car, and even a tow truck in the dollar bin isle at Target. You may remember this little boy mobile that I made using wooden airplanes that I found on my same trip to Target. I really hit the jack-pot with these!
I used these little cars as inspiration for the car mat. I made sure to have a fire station for the fire truck, an ice cream shop for the ice cream truck, a school house for the school bus etc.
First I drew out a tentative plan:

Then I cut out the roads using pieces of white paper as my outline. (This was a suggestion from the fiskar website.. brilliant I tell you!)


I then sewed the newly cut roads onto green fabric that I thought resembled grass.
Cutting the little buildings, pound, animals plants, etc. was the fun part. I didn't use any patterns... sorry. I just used my elementary education degree background to help out with this... i guess. I can't draw, but for some weird reason I can cut shapes out of fabric.. or at least cut better than I can draw.


I then pinned and sewed the large pieces onto their proper spots. For the smaller things, I used a hot glue gun. I know.. that isn't the most secure way of going about things, but the truth is I can always get my hot glue gun out again if needs be.
Finally I sewed on a large back piece of fabric. I went for colorful boy stripes. I kind of quilted it on by sewing in the middle of each road with yellow thread. Then I bound the sides to complete it.


We also gave my little boy a little wooden train track for his birthday that he loves to put on top of the car mat. This makes playing with cars and trains at the same time just that much more fun!


You can make homemade healthier cookies that will rock your world!
I have been trying to eat a little healthier and I have learned a secret. Here it is...
Use coconut oil instead of butter, oil, or shortening in EVERYTHING! That's right, butter your toast with it and put it in your favorite cookie recipe.

Coconut oil is extremely good for you! Here are just a few things it does...
Kills viruses and bacteria that cause influenza, AIDS, throat infections, and lots more.
Provides quick energy
Reduces risk of diabetes, or symptom of diabetes if you already have it
Improves digestion
Protects against many cancers including breast and colon
Heart Healthy
Dissolves kidney stones
When applies topically it prevents wrinkles and age spots! I am excited about preventing that!! It also protects against the suns UV rays.
You can read more about coconut oil found here. This stuff is amazing!
There are a couple different types of coconut oil you can buy. Some has the coconut flavor, which would be good to use in most cookie recipes or on toast, and some doesn't have the coconut flavor, which is good for frying chicken or what not.
I wanted to try it out in a regular cookie recipe. When it called for 1 Cup butter, I used 1 Cup coconut oil.

The cookie dough looked a bit shinier than usual

They turned out wonderful!! They taste awesome and feel just a little bit healthier when they hit your stomach. I had to extend the cooking time a couple minutes, maybe it was the coconut oil or maybe the rainy weather outside, but it worked! My husband can't get enough of these cookies!

So I hear that it is a straight across substitution for butter and oil, but with shortening you may get better results if you reduce it a forth. So if the recipe calls for one cup shortening, you would use 3/4 cup coconut oil.
We fried up some chicken and steak in the coconut oil the other night and it turned out fabulous!!! I am so excited about this awesome find I just had to share!
I also use coconut oil in this REALLY HEALTHY shake
Wanna know where I buy my healthy ingredients for way less than any grocery store? My aunt owns a cute little healthy store. Her website is Alpine Food Storage, you can subscribe to her email list and get the best deals around!
Stephanie

I think that that being pregnant with this little girl has made me a ruffle maniac. I have had this body pillow for the past 4 years. I never ever use it, because I find it rather awkward. We have been using it as a pillow on our bed to help prop up all the other pillows from behind. The brown just doesn't go, so I had to change it up.
The pillow is 20in x 54in

When I cut out the fabric for the front I just added 1/2 an inch to each side for a 1/2 inch seam allowance when sewing.
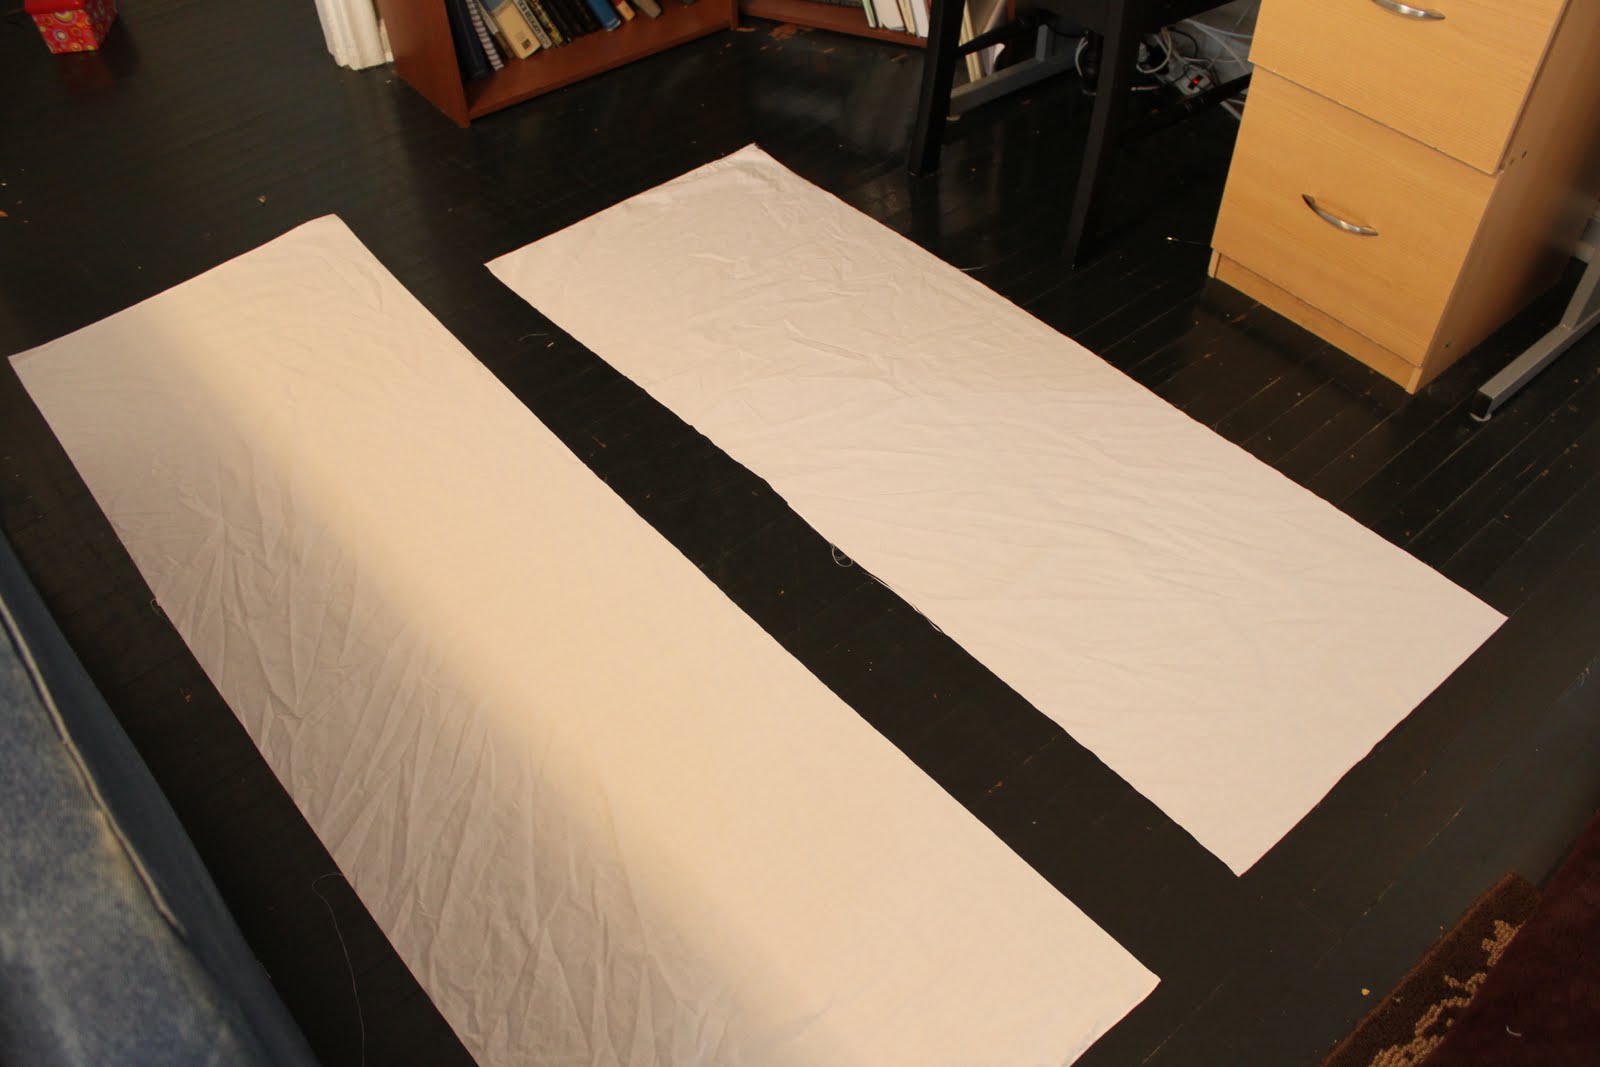 I added a couple more inches to the back piece so that I could make it a giant envelope pillow case and would have room for tucking. (Top piece for the front, bottom piece for the back)

I cut the bottom piece exactly in half for the back envelope opening. I then hemmed one edge of the two back pieces each.
 I then hemmed one edge of the two back pieces each.
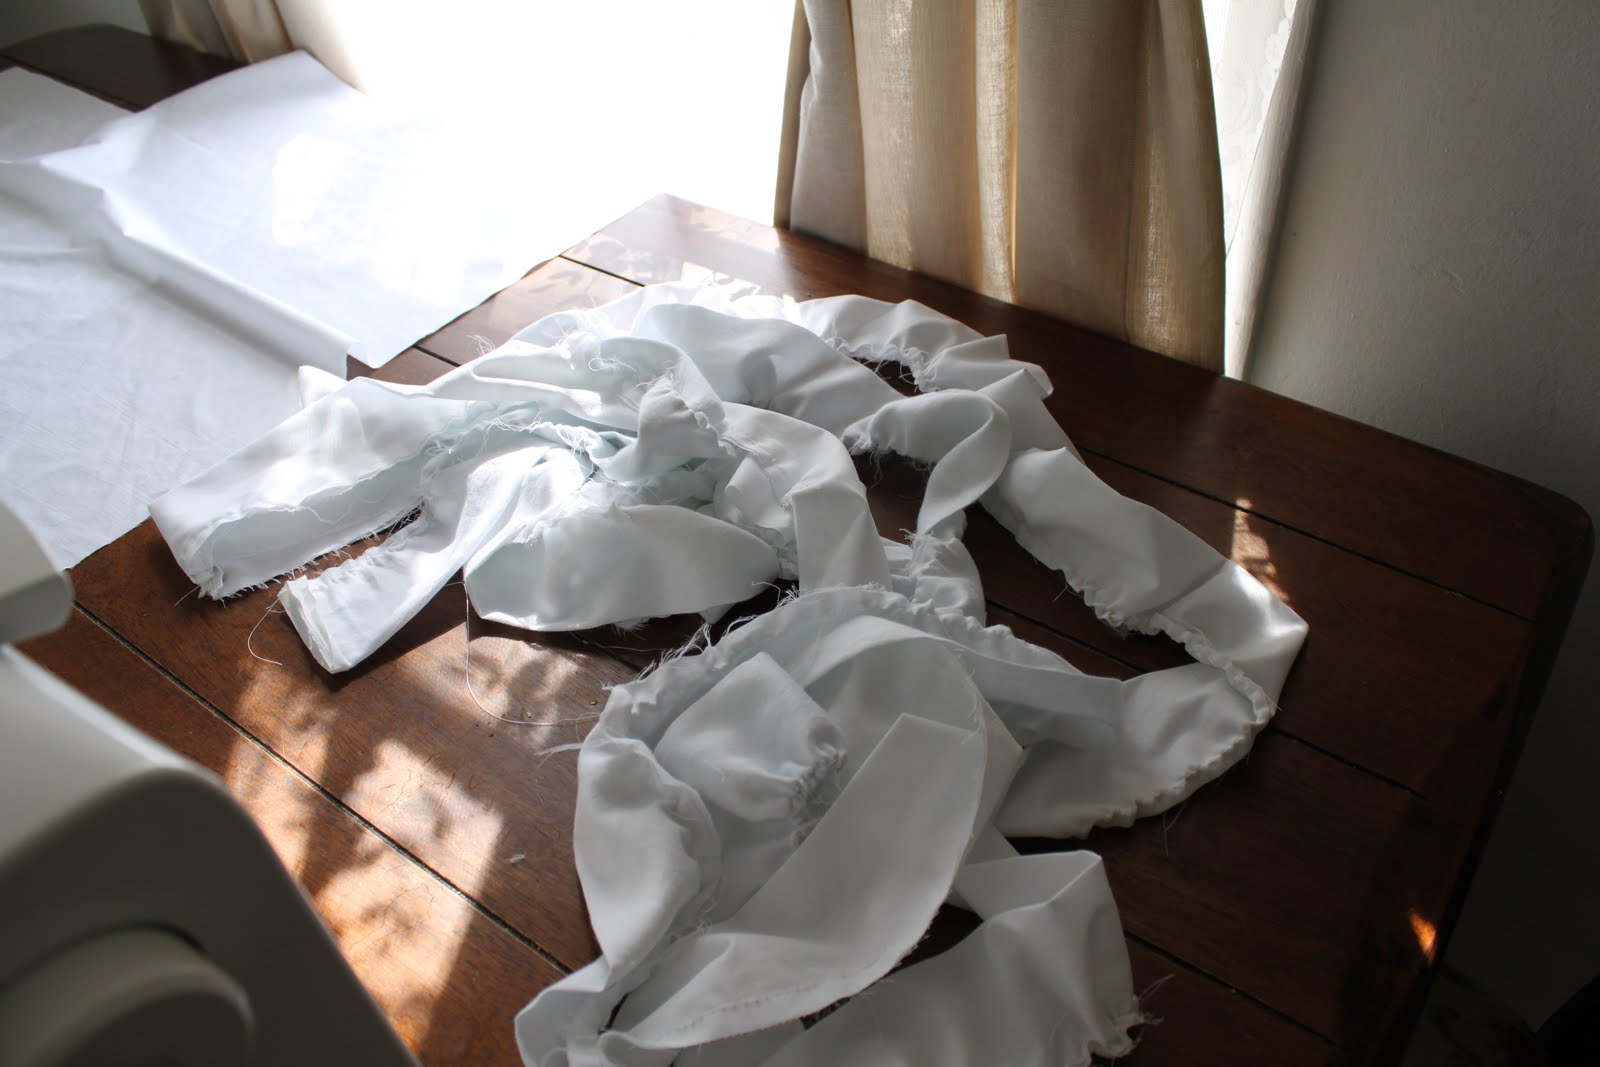 I set those pieces aside and made some ruffles with a long strip of fabric and a basting stitch. Go Here or Here to see what I did EXACTLY to make ruffles and attach them to the other pieces.
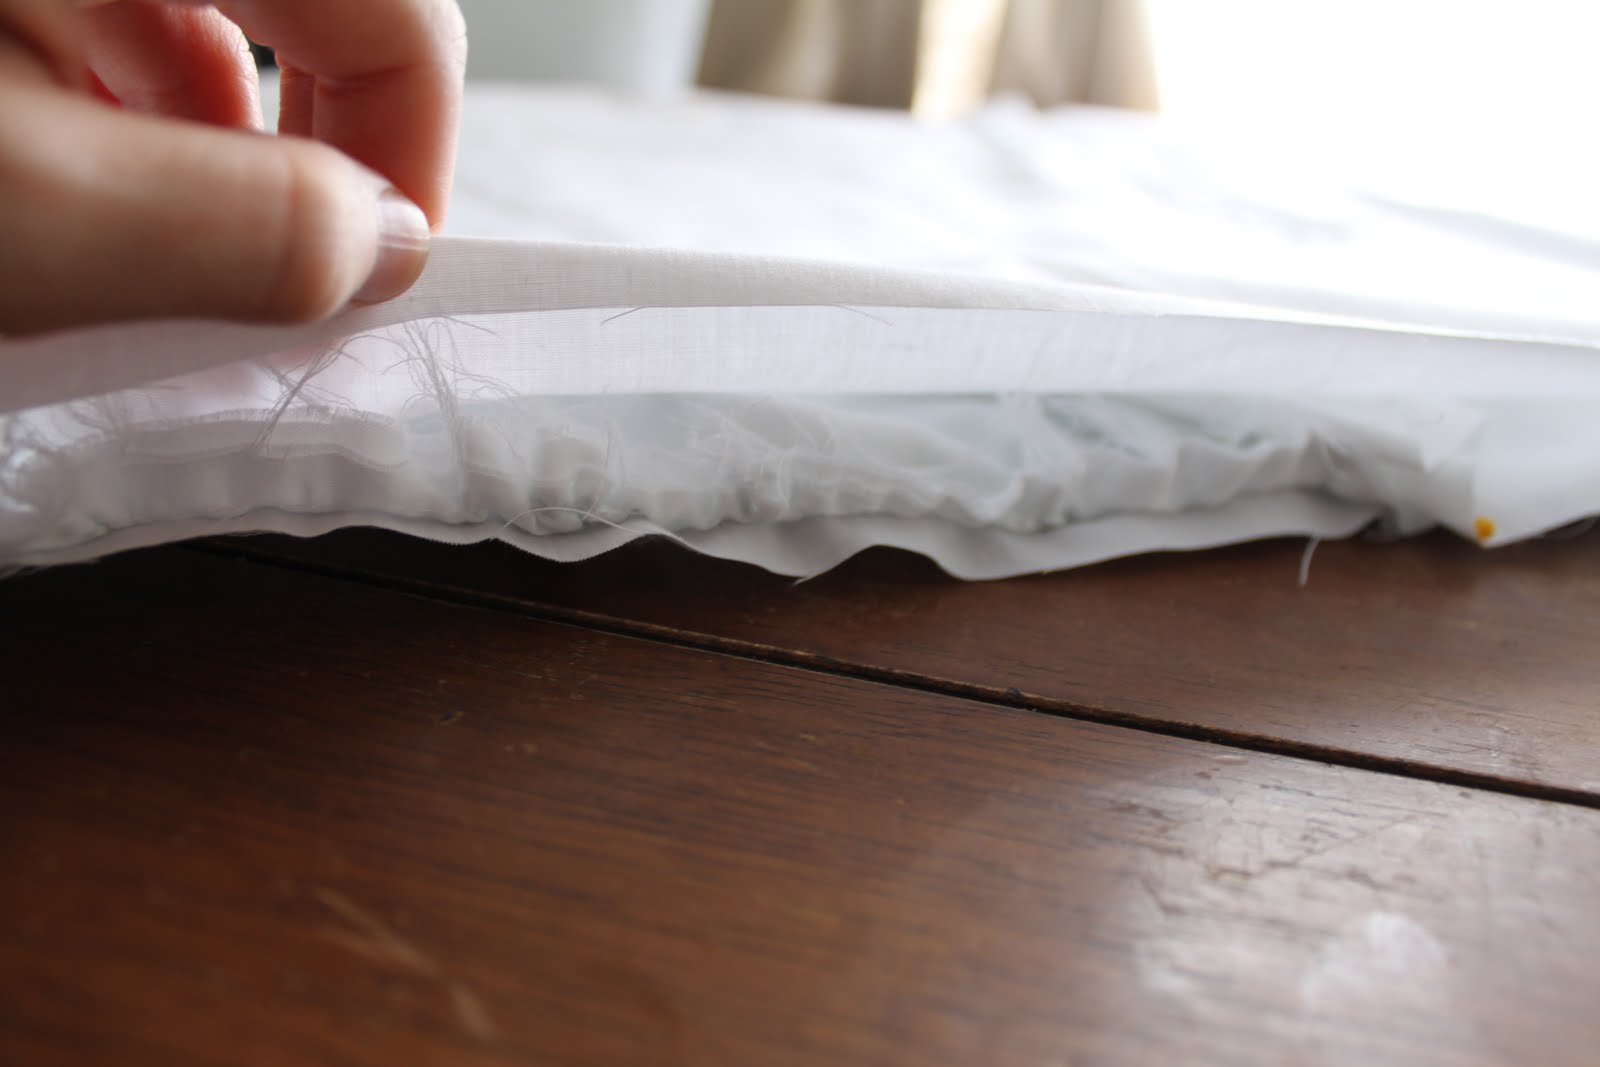
Below I show how I piece it all together. Gather the the ruffle strip. Pin this in between the large top (one large piece) and bottom pieces (two halved pieces). Be sure that your top and bottom pieces are still right sides together. All raw edges should meet up. The folded edge of the solid strip should be facing in between the fabric, kinda like a sandwich.
 Sew it all together and stuff that ugly body pillow into the new giant body pillow envelope! You're done!

 I like the extra bit of fluff it adds to my bed. Just enough.. but not too much :)
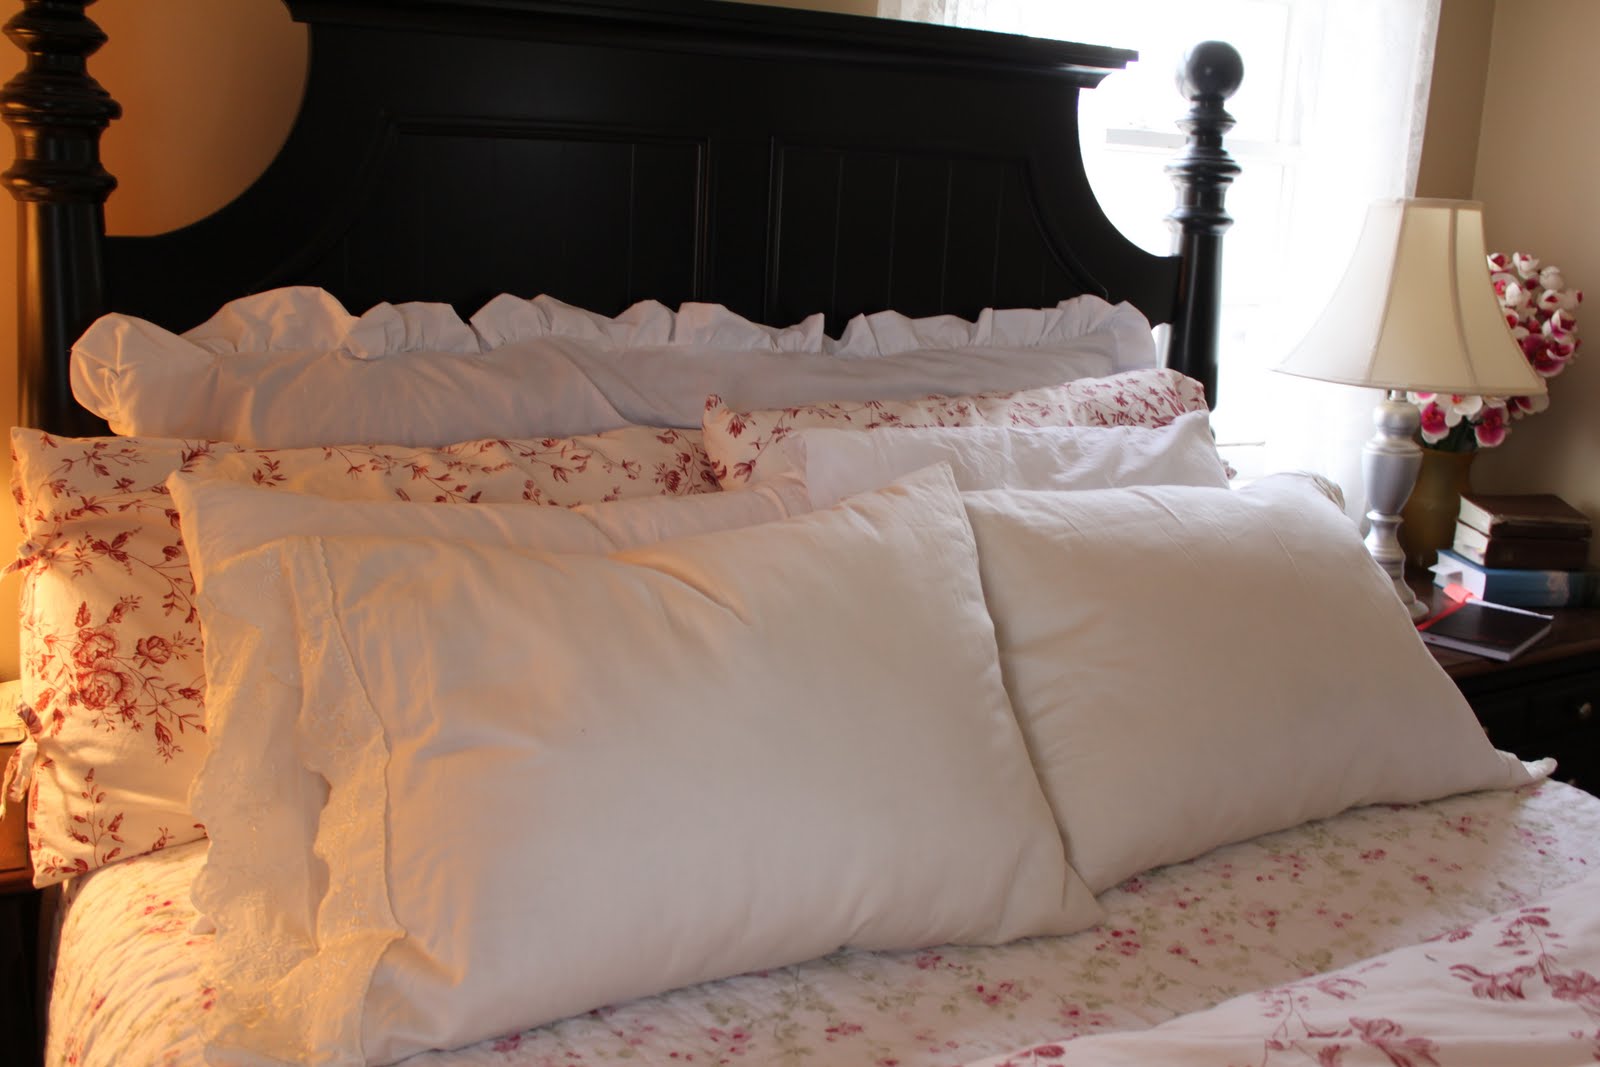

AFTER

I got my lamp transformation idea from my cute friend Jessica from Running with Scissors. She really is brilliant and SO incredibly talented. You should seriously check her out.
REMEMBER THE BEFORE? They were a screaming deal on KSL.com and I just couldn't pass it up. ($5 a piece)
 I couldn't even find this great of a deal at my lovely local thrift store which I faithfully visit each week.
When I actually got them, I was saddened by the shape that the lamp shades were in. They were pretty much trashed, so I decided I wouldn't be able to make them fabulous with fabric and would have to resort to buying lamp shades. This was ok, due to the fact that the lamps are AWESOME and I love the design, and they even have THREE light settings! (I will save my lamp shade transformation for another day.. )
Here we go
1. Prime

 2. Paint (I did two coats)
 3. Gloss (To seal it baby), and get a nice glossy finished look.
 4. Get some great/cheap lamp shades (I got mine at Ross Dress for Less.. @ only $6 a piece.. such a good deal considering that even at Walmart you would be paying $15-20 just for the lamp shade alone!!)
And there you have it!!
BEFOREAFTER


Am I obsessed with spray paint right now? Yes... just a bit. My mom got these barstools at a garage sale for cheapo. We love the style of the chairs but we weren't digging the color so we decided to change them up. It was easy! This is how you spray paint barstools...
You need:
A can of primer
A can of semi-gloss white paint
A can of clear gloss. This seals it all up so the paint won't chip away.
We used one can of each of these per chair. But I'm sure you can spray more conservatively than we did and make one can go further.

The chair before

During.
Hello mom!

More during.

And After!

Gotta love them! I would much rather spray paint intricate things like this than paint them by hand. It was really fast too. We just had to wait for each layer to dry in between sprays.
Stephanie