

DIY: Sanding Wooden Furniture
12:29 PMRefinishing Wooden Furniture 101
Second=Sanding
Sanding is a simple process. Although simple it can take awhile. Just be patient, it will pay off in the end.
This chart below helped me immensely when I began sanding.
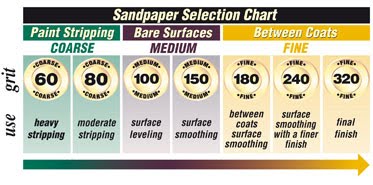
1. I started sanding the wood with 100 grit sandpaper, because I had already chemically stripped the wood. This leveled the surface.

2. After the surface was leveled I sanded the surface using a 220 grit sandpaper.
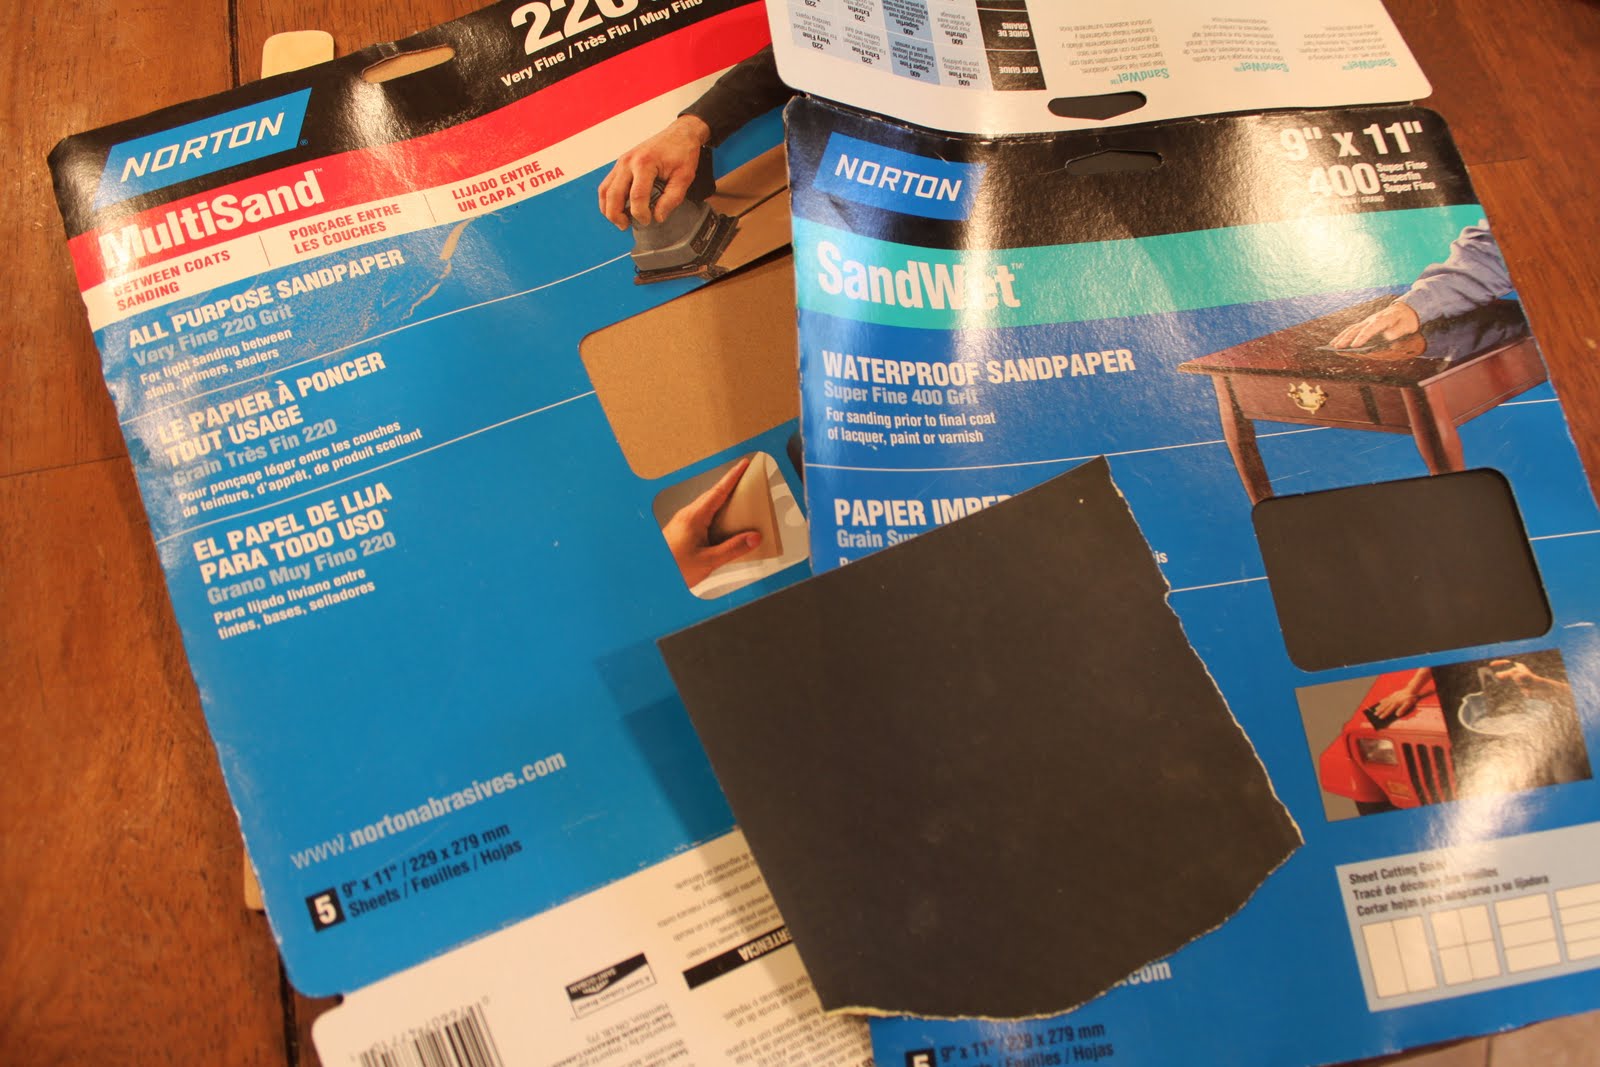
3. I finished sanding using a very fine 400 grit sandpaper.
It took a couple of hours to complete the sanding procedure. I made sure and ran my hands along each surface to ensure it felt bare and that no varnish was left behind.
HELPFUL SANDING HINTS:
*** ALWAYS sand in the direction of the grain!!!!!!
*** Cut the sand paper sheets into fourths or even smaller pieces depending on the surface you are sanding.

*** Use a sanding sponge!!!! These wear down quickly, but you can recycle it by simply wrapping your cut pieces of sand paper around it. I love my little sanding sponge. It made the job go by quickly and with less effort!!!

Next on the list=Conditioning!!!
If you missed the first step of stripping, click "HERE"
Megan


1 comments
Wooden furniture often creates an elegant and personal finish to any room and, due to its different qualities, can carry out a number of functions.
ReplyDelete